Before & After Photo and GIF Maker
Turn two photos into a before/after slider, side-by-side, split, or animated GIF/video. Download in any size or embed an interactive slider on your site. It works as a free before and after picture maker online: no sign-up, no upload, and your photos never leave your browser.
Planning the project these photos are for? Get the steps, tools and a priced material list. Or make your photo below.
Before photo
Drag & drop or click to upload
After photo
Drag & drop or click to upload
Your photos never leave your device. Everything runs in your browser, nothing is uploaded to a server.
Before and after examples: rooms, houses, and yards
Real projects make the best before/after photos. Here are a few to spark ideas, from a room makeover to curb appeal to a backyard transformation. Drag each slider to reveal the after.
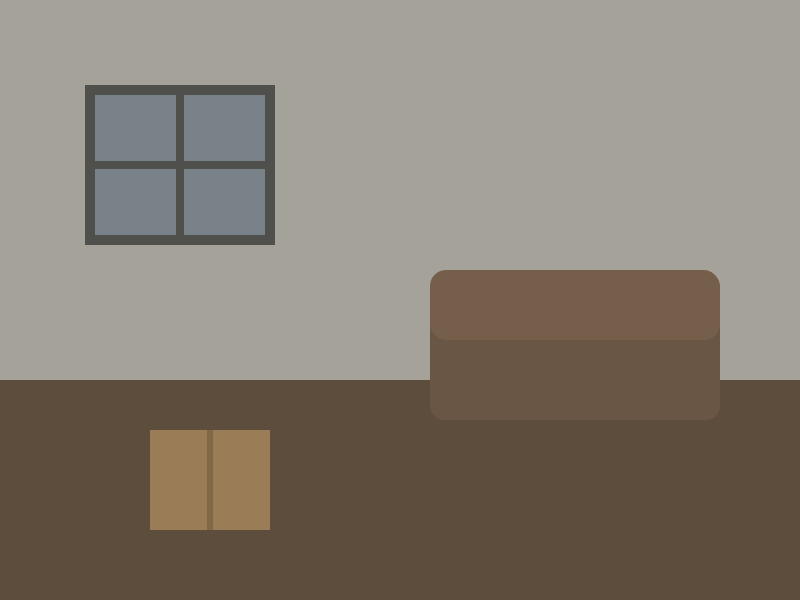
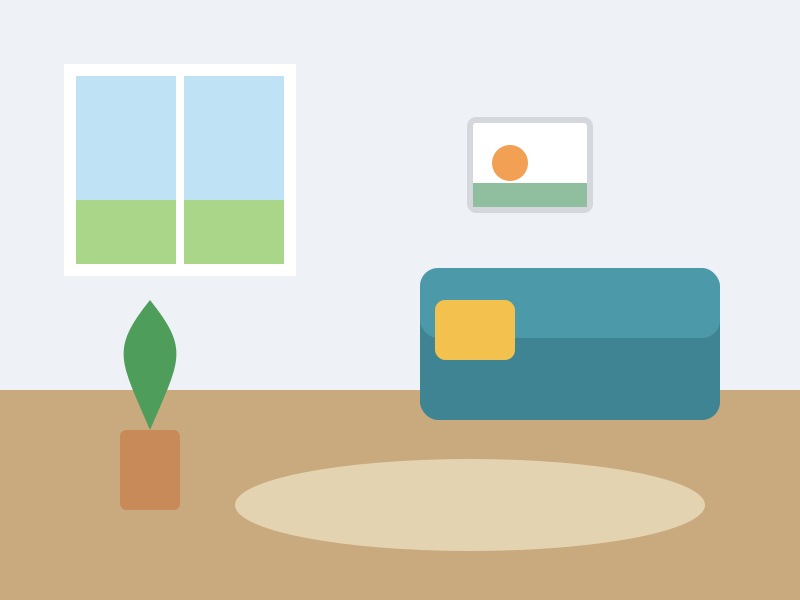 BeforeAfter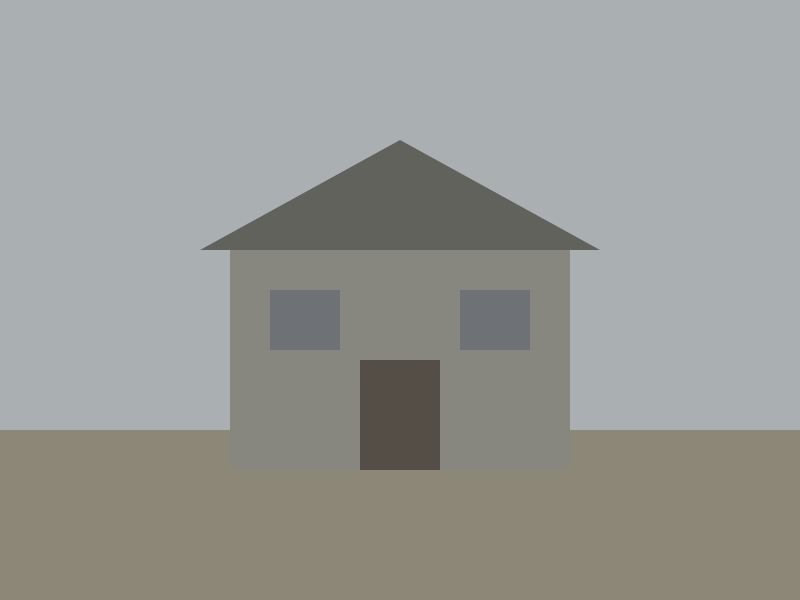
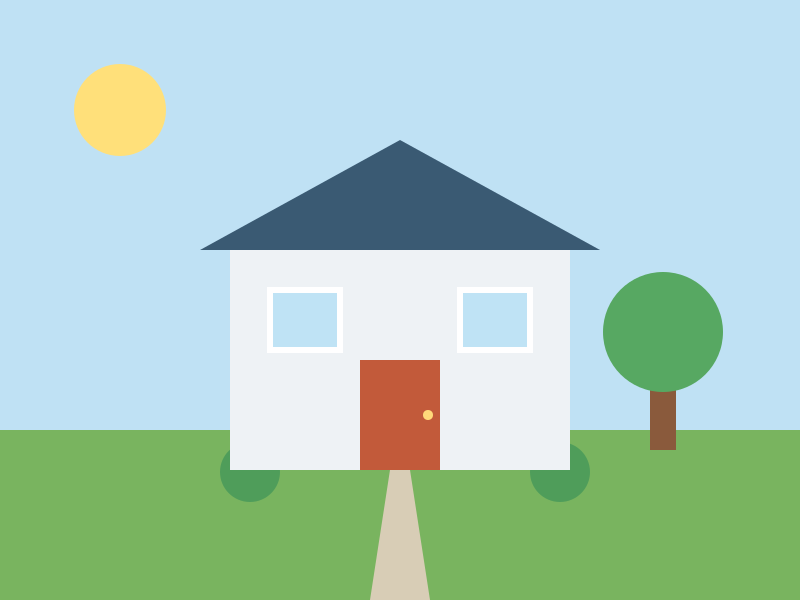 BeforeAfter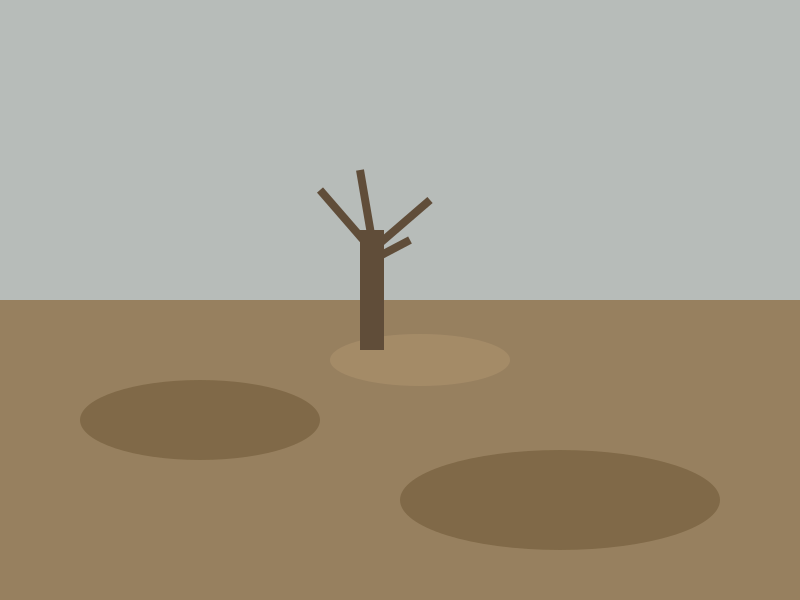
 BeforeAfter
How to make a before and after photo
You need two photos and about a minute. Everything below happens in your browser, so your images never leave your device.
- 1
Upload your before and after photos
Add the two photos you want to compare. Nothing is uploaded to a server. The maker runs entirely in your browser, so your images stay on your device.
- 2
Pick a style
Choose a slider (drag to reveal), side by side, stacked, split, or animated layout. Animated exports a moving GIF or video; side by side is best for a quick at-a-glance comparison.
- 3
Set the size for where you'll post it
Pick a shape (square, portrait, story) or an exact platform size like Instagram 1080x1080 or Pinterest 1000x1500. You can also type in custom pixel dimensions.
- 4
Adjust labels, divider, and border
Rename the Before and After labels, change the divider and border, round the corners, and set a background color for any letterboxing.
- 5
Download or embed
Export a PNG or JPG for a static image, an animated GIF for a moving reveal, or copy an HTML embed to drop an interactive slider straight into a blog post.
How to make a before and after GIF (free)
Pick the Animated style. Choose Wipe (the reveal line sweeps across) or Slide (the after photo slides in over the before), set the direction, speed, start position, and loop (ping-pong, loop, or once), then click GIF or Video. GIF is universal and loops anywhere; video (MP4/WebM) is higher quality and better for TikTok, Reels, and YouTube. The GIF maker is free with no sign-up, and like the rest of the tool it renders entirely in your browser.
6 tips for before-and-after photos that actually look good
A great transformation can look mediocre if the two photos don't match. These are the things that make the difference.
Shoot from the exact same spot
The single biggest thing that makes a before/after look professional is matching the camera position. Note where your feet are and what's at the edges of the frame so the after shot lines up with the before. A slider only works if the two frames register.
Lock your framing before you start
Take the before photo a little wider than you think you need. You can always crop in later, but you can't recover what you didn't capture. Keep the same orientation (portrait or landscape) for both shots.
Match the lighting
Shoot both photos at the same time of day with the same lights on or off. A room that's sunny in the before and lamp-lit in the after reads as a lighting change, not a renovation. Avoid mixing flash on one and not the other.
Use a tripod or a reference point
If you know a project will take weeks, a phone tripod or even a taped mark on the floor makes the after shot repeatable. No tripod? Line up a fixed feature (a doorway, a window, an outlet) in the same place in both frames.
Declutter the after shot
Clear tools, drop cloths, and packaging out of the after photo. The work should be the only thing that changed. A tidy after frame is what makes the transformation land.
Keep both at high resolution
Shoot at your phone's full resolution and don't screenshot. Higher-resolution source photos give you sharp exports at any size, including large Pinterest pins and print.
What size should a before-and-after photo be?
Match the size to where you're posting. The maker has one-tap presets for all of these, plus custom pixel dimensions.
| Platform | Size (px) | Notes |
|---|---|---|
| Instagram feed (square) | 1080 x 1080 | Safe default; crops cleanly in the grid. |
| Instagram feed (portrait) | 1080 x 1350 | Takes up more screen; higher engagement. |
| Instagram Story / Reel | 1080 x 1920 | Full-screen vertical. |
| Pinterest pin | 1000 x 1500 | 2:3 vertical pins get the most reach. |
| YouTube thumbnail | 1280 x 720 | 16:9; great for renovation walkthroughs. |
| Facebook feed | 1200 x 630 | Wide landscape for link and photo posts. |
Slider, side by side, or GIF: which should you use?
An interactive drag reveal. Best on your own website or blog, where readers can drag to compare. Export it as an HTML embed to keep it interactive, or as a GIF to share the reveal on social.
Both photos visible at once. Best for a quick, honest comparison, a portfolio, or an estimate you're sending a client. Reads well at a glance with no interaction needed.
Before on top, after below. Ideal for tall, narrow spaces and for vertical formats like Pinterest and Stories.
A single frame revealed at a fixed line, or an animated wipe or slide exported as a GIF or video. The most eye-catching option for a social feed where motion stops the scroll.
Before & after photo maker FAQ
Planning the project behind the photo?
DIYProject.ai turns a home project into a real plan: steps, a materials list, a budget, and 50+ free calculators for paint, flooring, decking, and more. The before/after is the easy part.